
DIY // Painted Cabinets
24 Jul
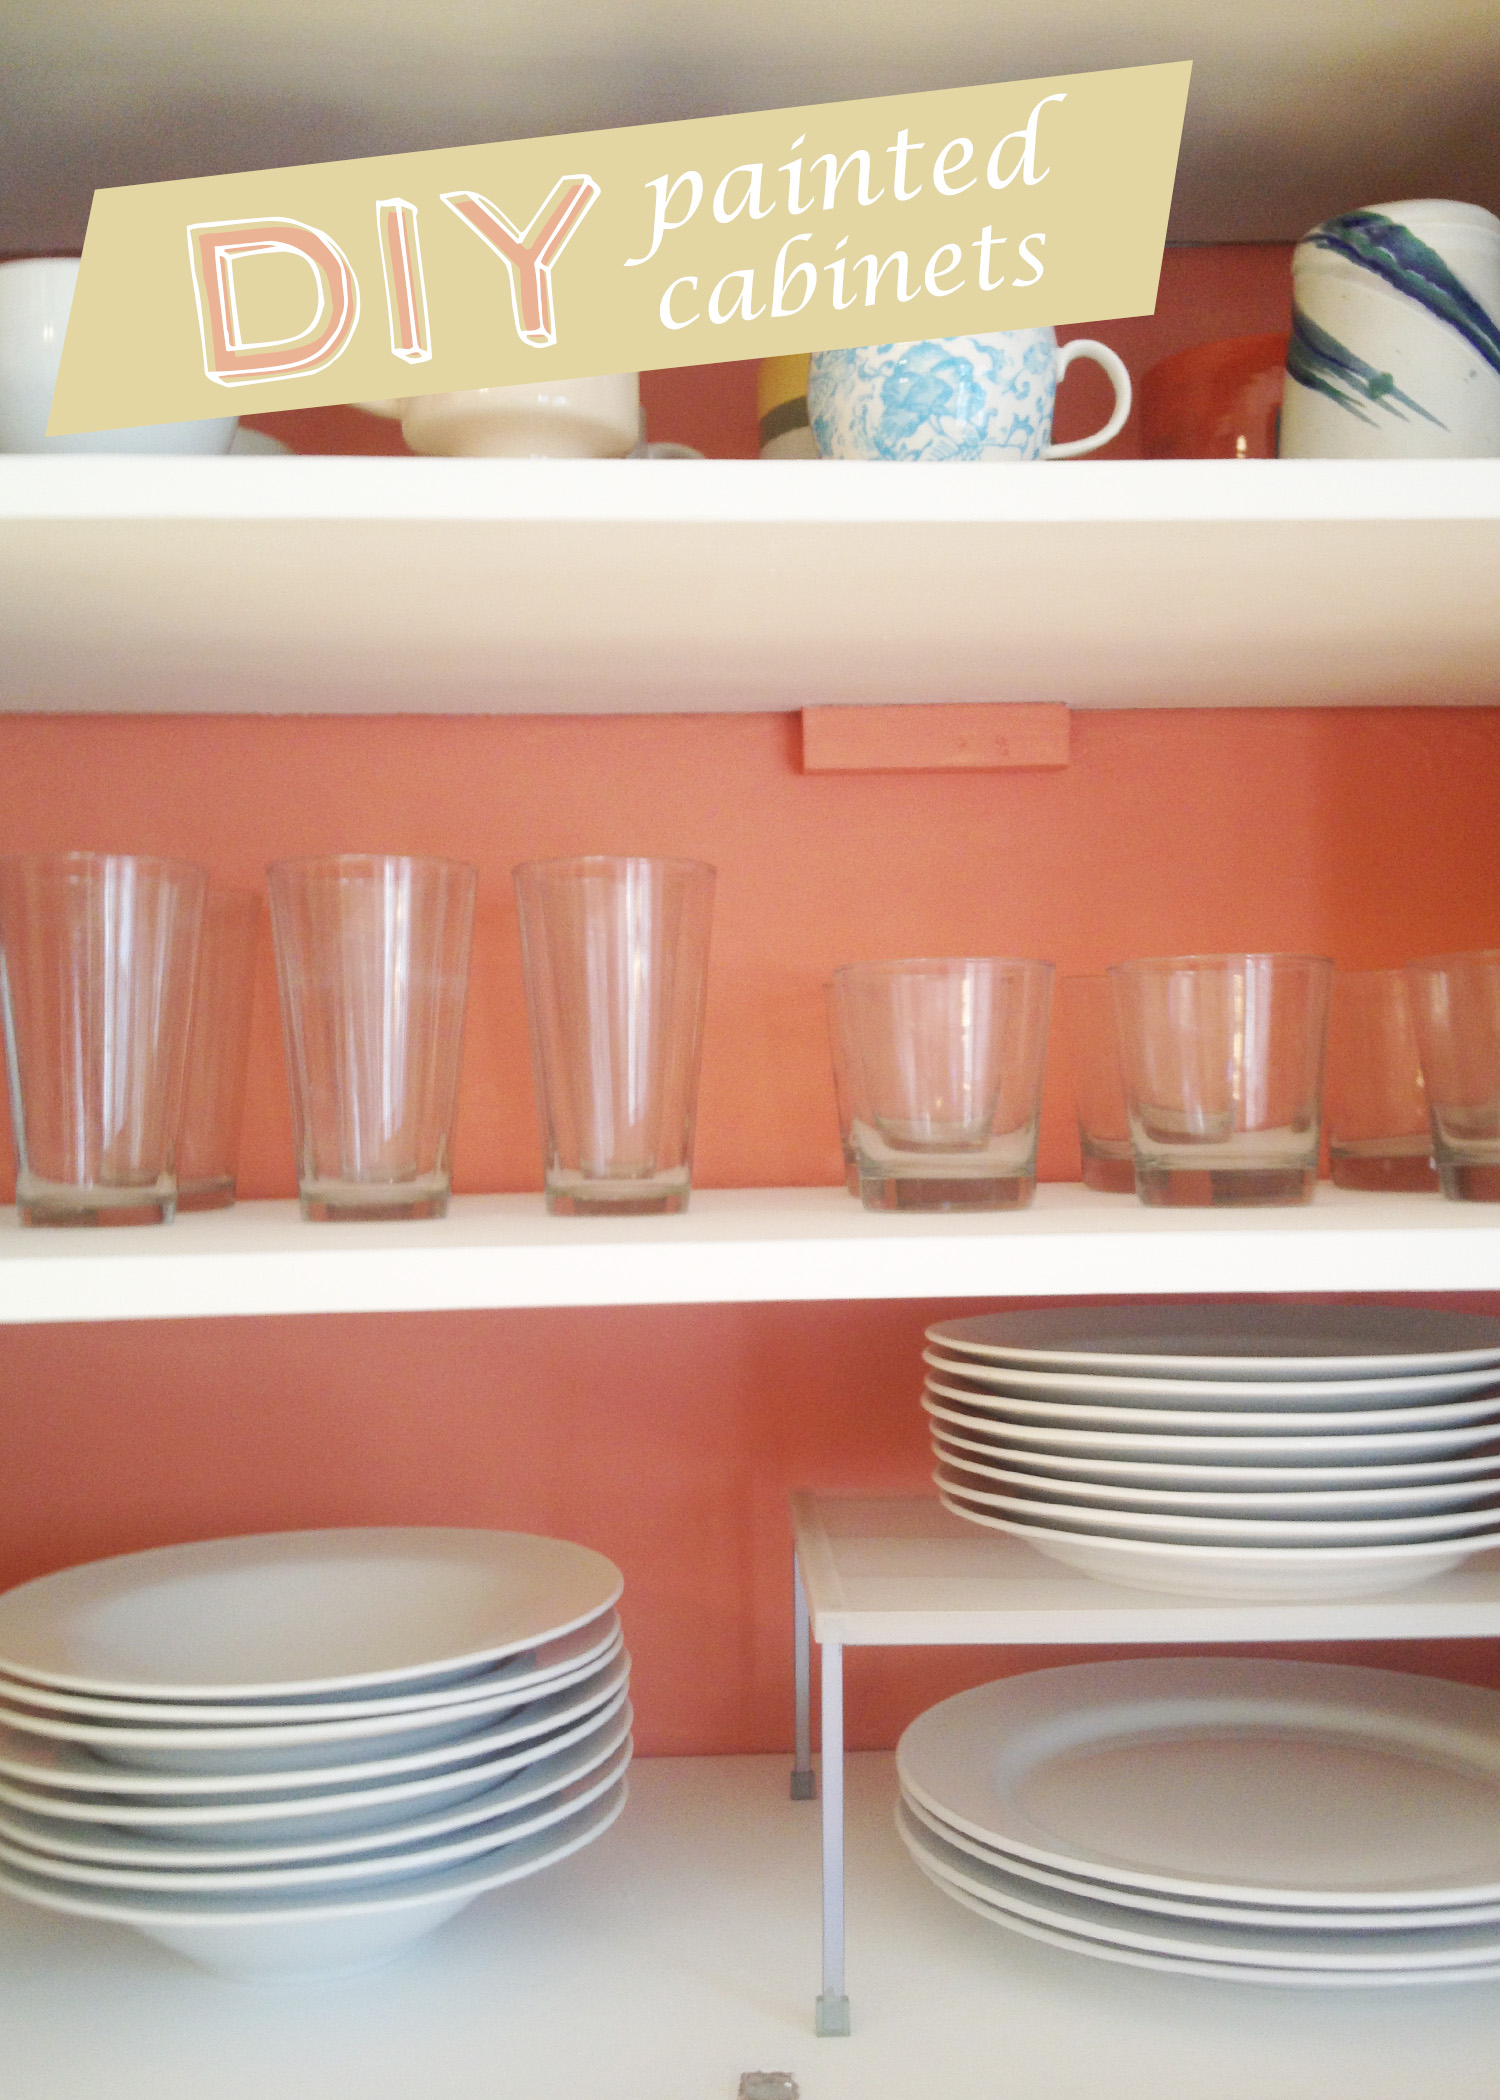
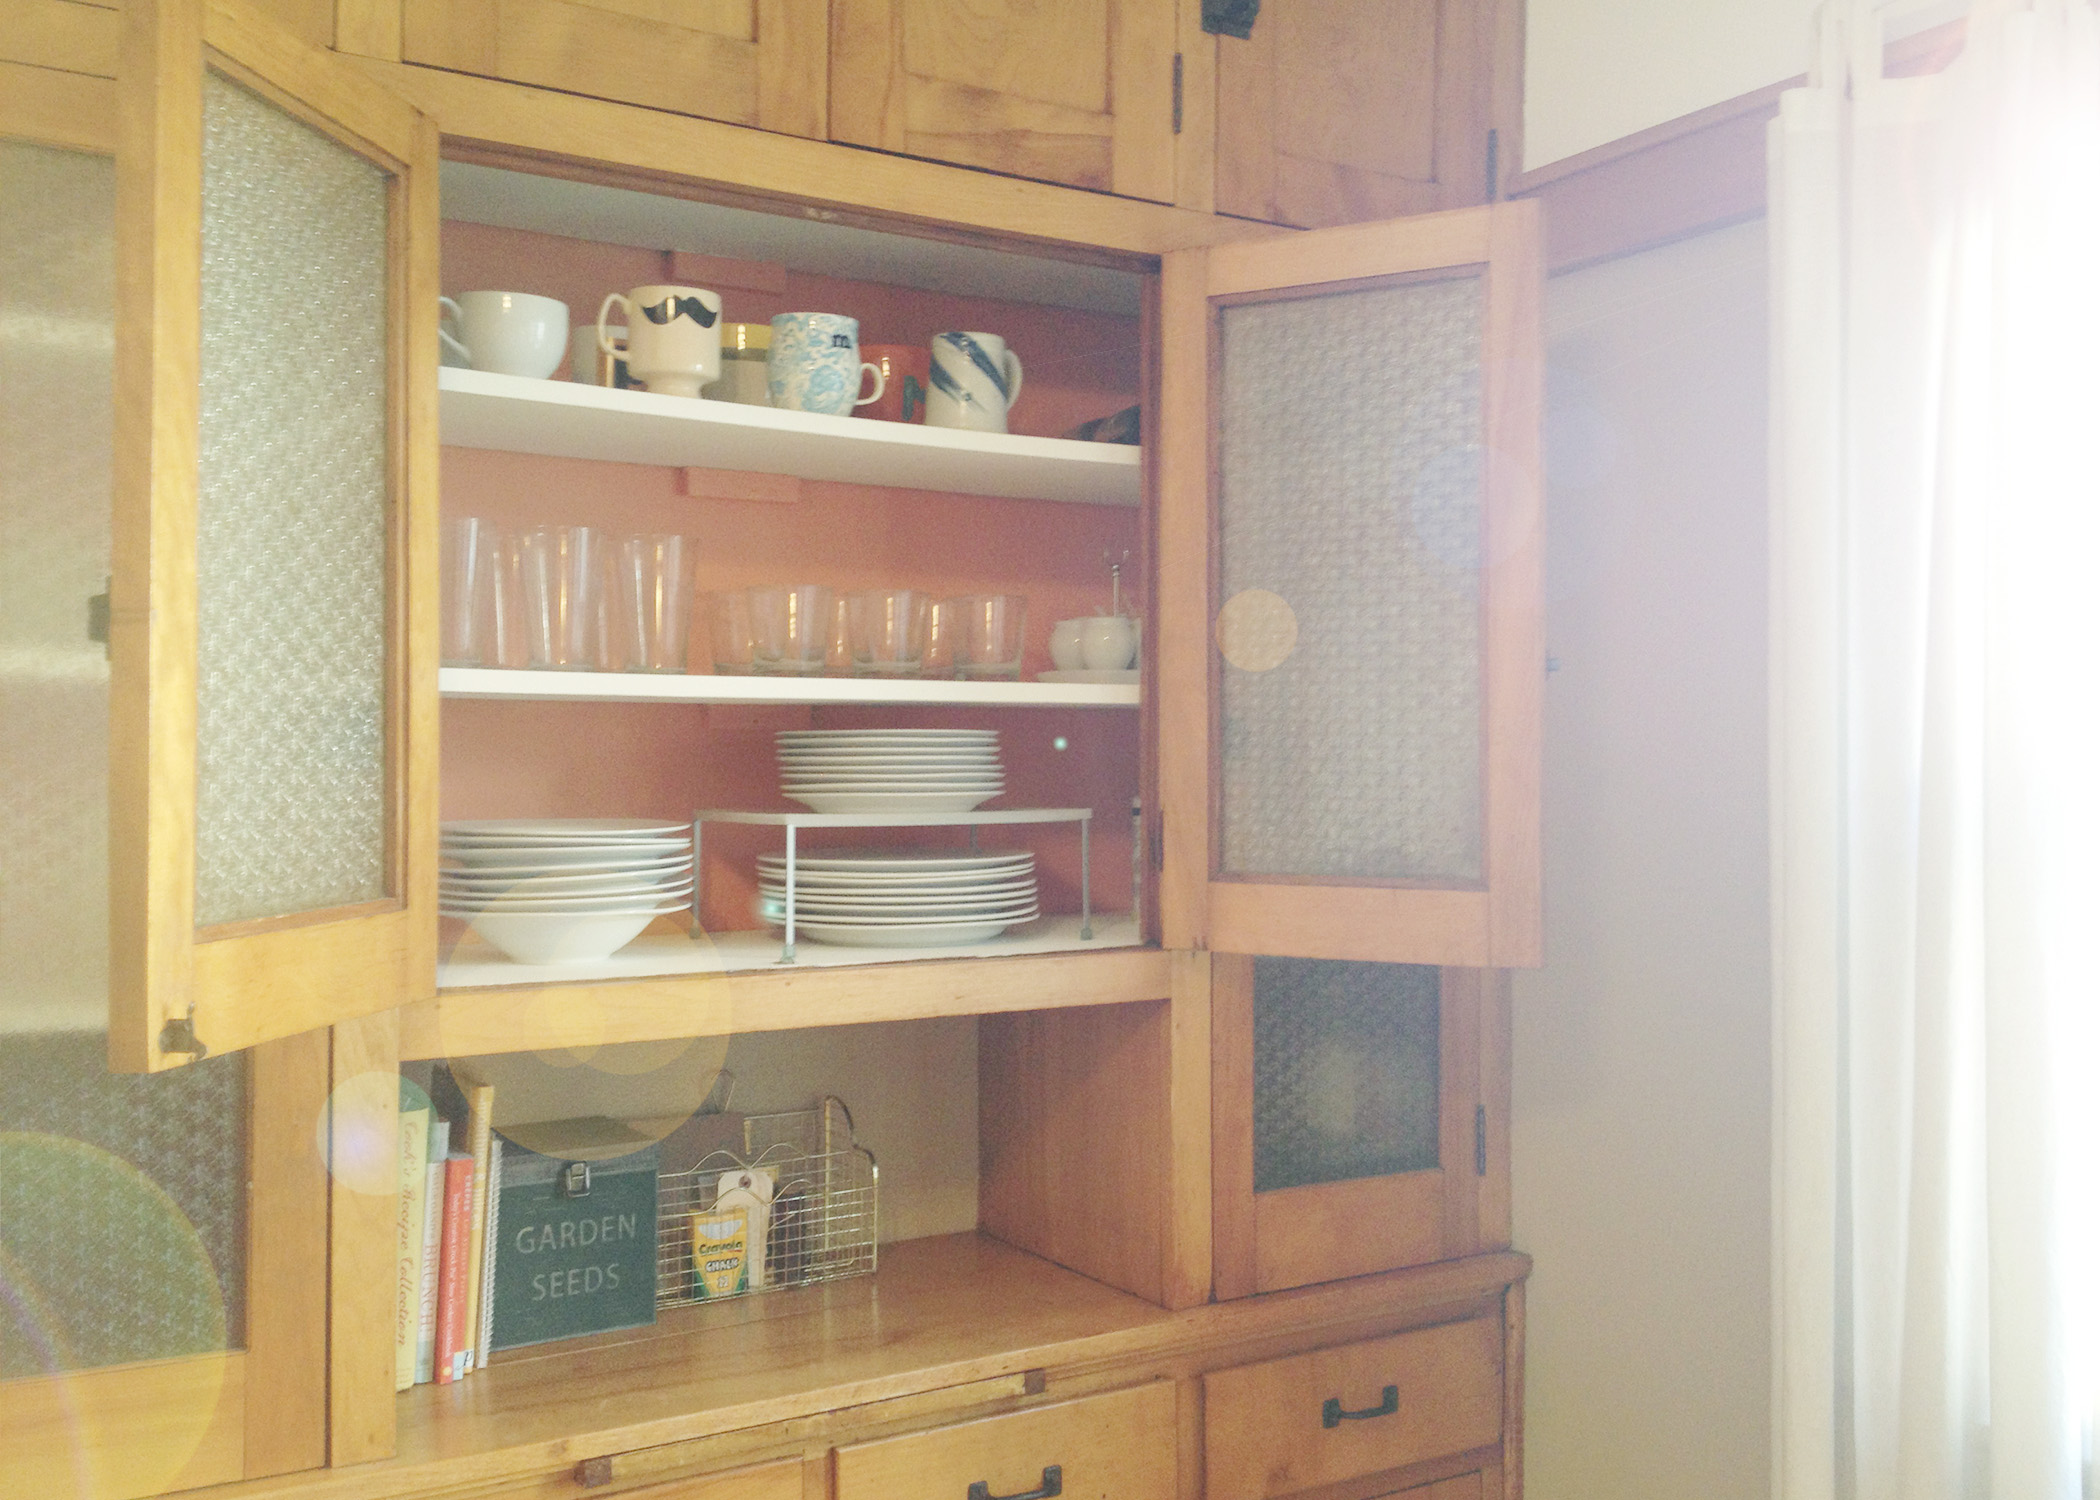
Good morning friends, and happy Wednesday! Today I wanted to share with you a DIY project Jonathan and I worked on this past weekend. We have these really nice, vintage cabinets in our kitchen that just needed a little love. Someone before us had used that sticky paper stuff that is supposed to look like paint but it just wasn’t cutting it. At first we were just going to rip the paper out and paint it white, then right before we went to the paint store we decided it needed a little extra pop of color so we decided to paint the back wall coral too! First I want to show you the before and after pictures. What a difference right?!
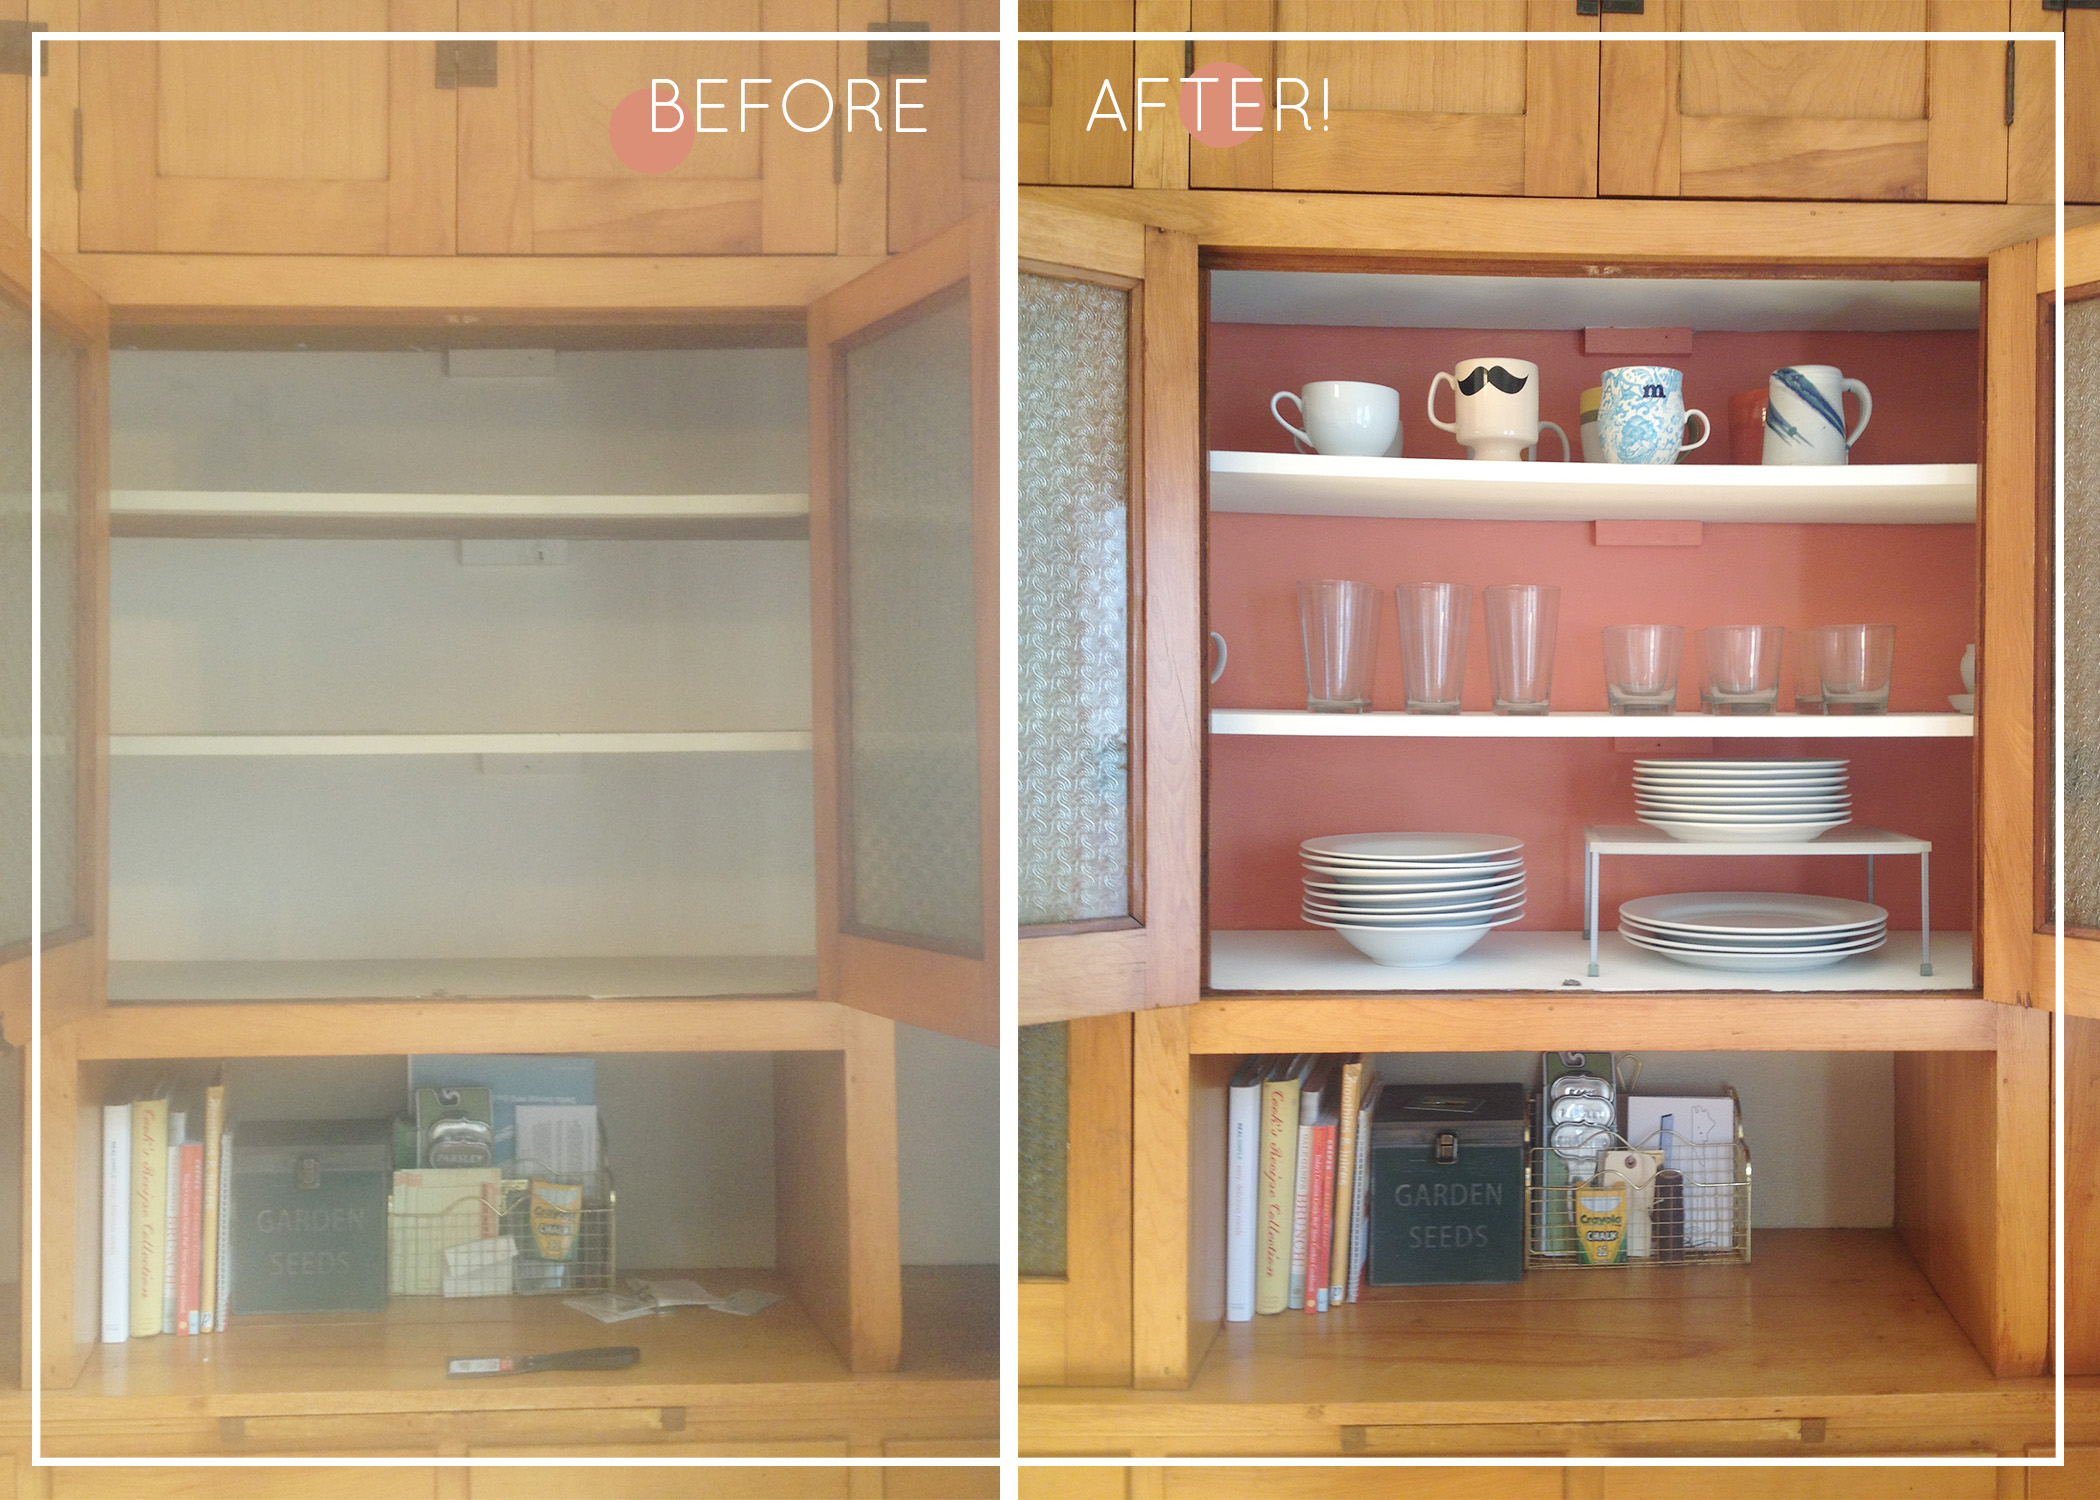
This process ended up taking a little longer than we thought but it was totally worth it! Here is what we did.
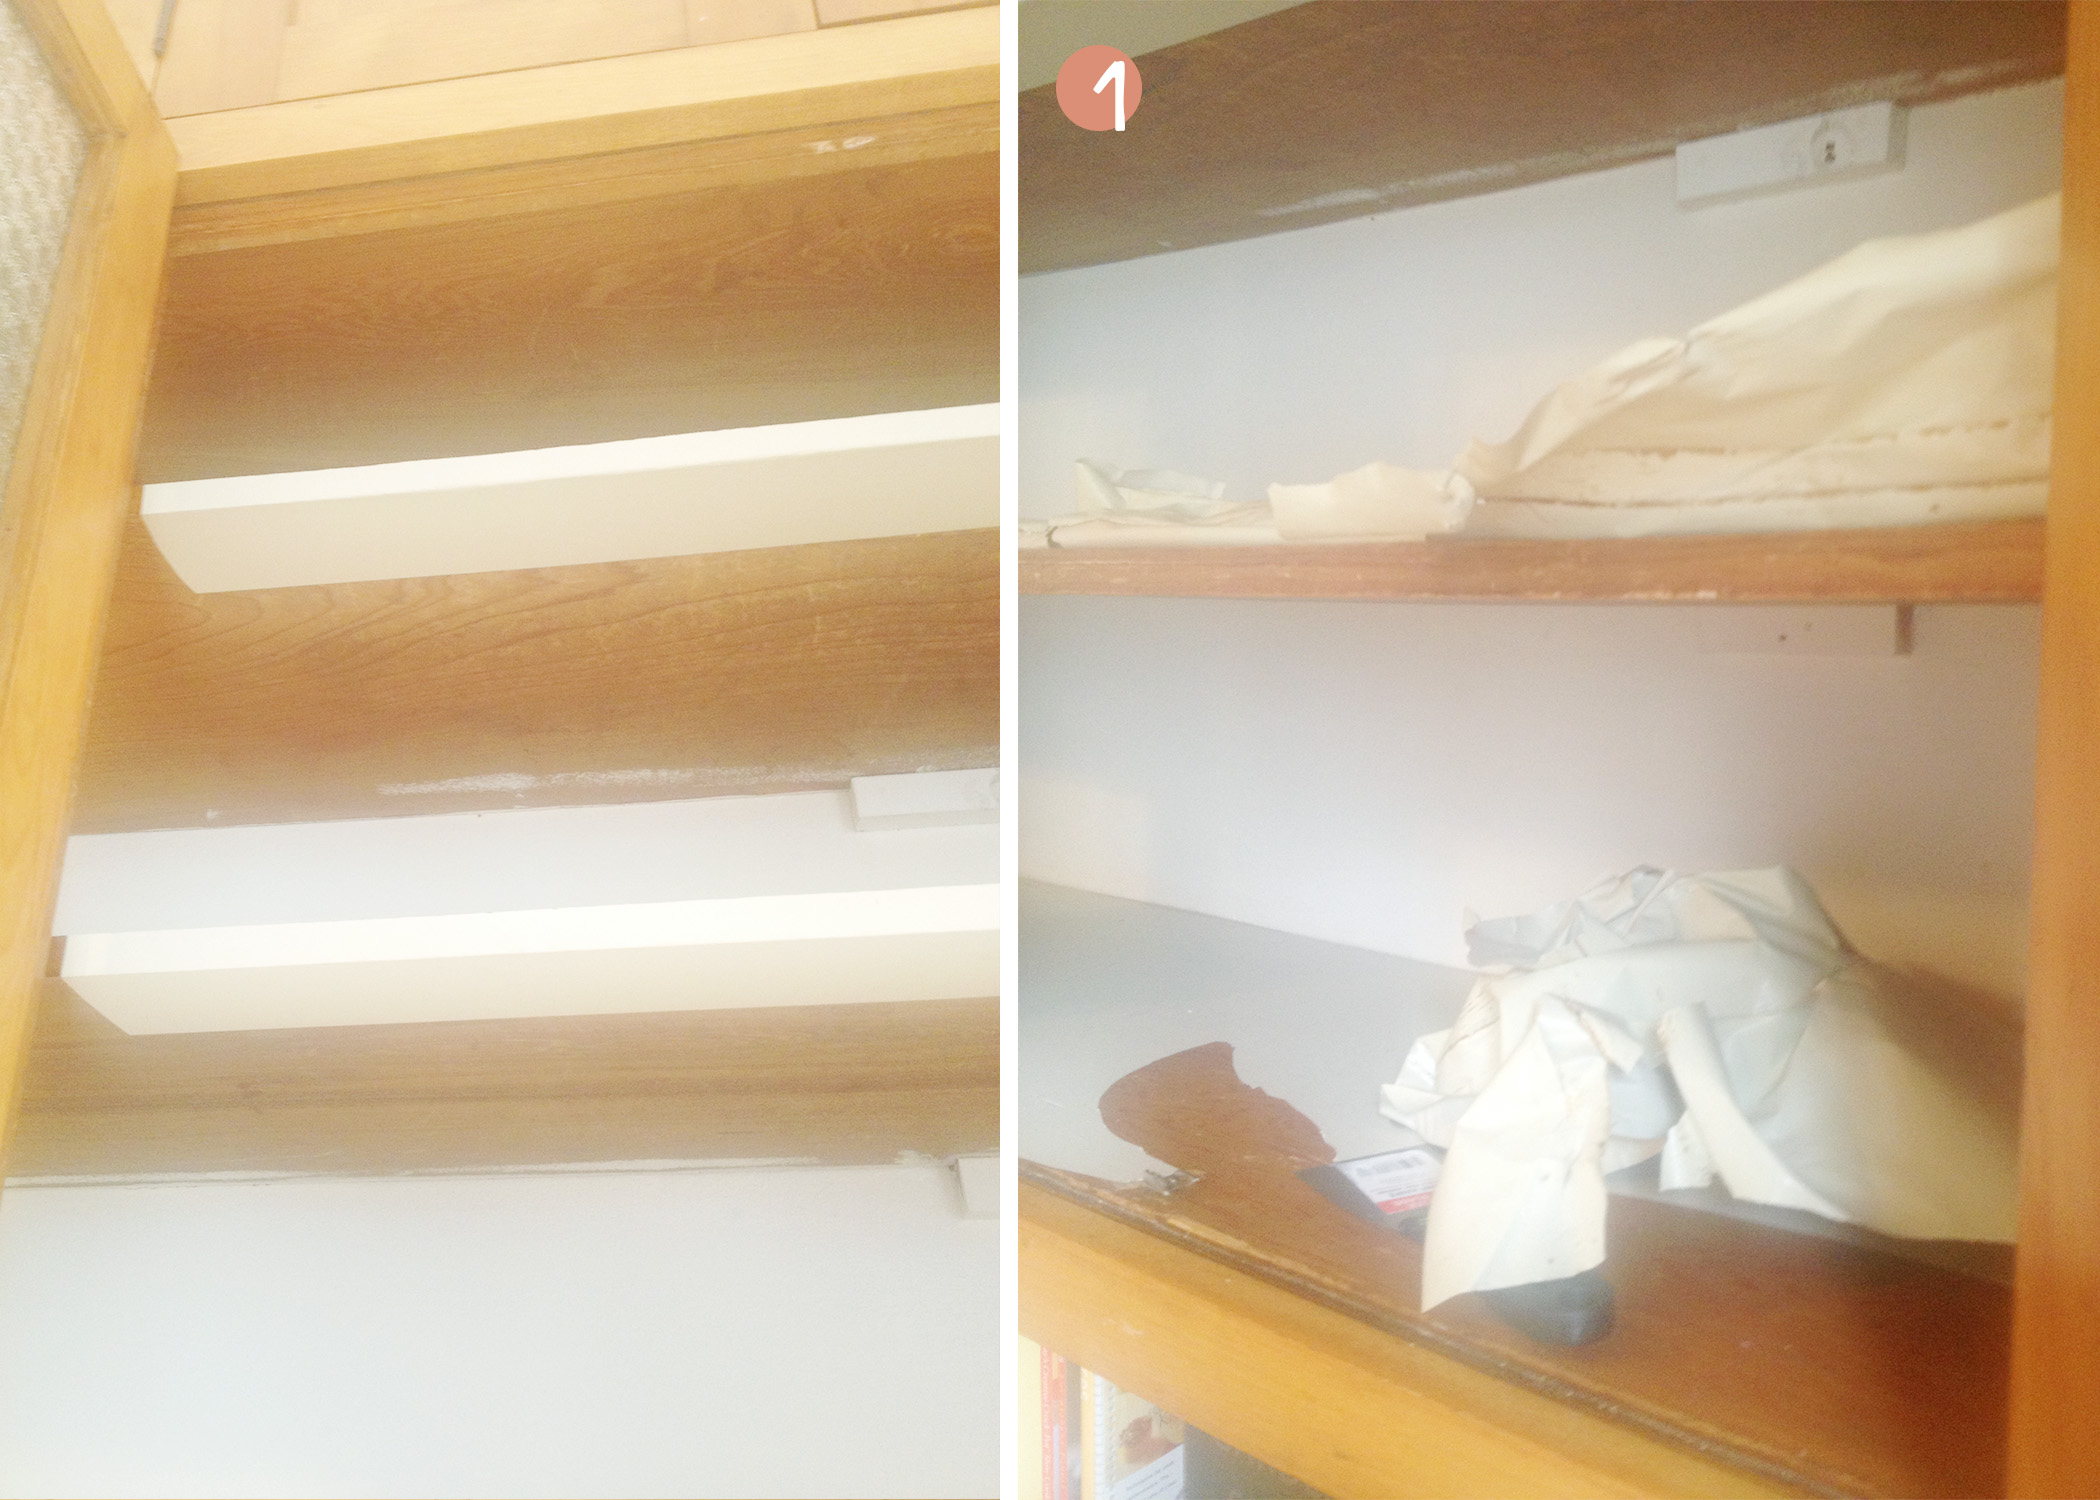
Step 1: First, we used a scrapper to rip up all the paper paint. I think it had been their quite awhile because it was pretty hard to get off. But, so satisfying when you got a big piece!
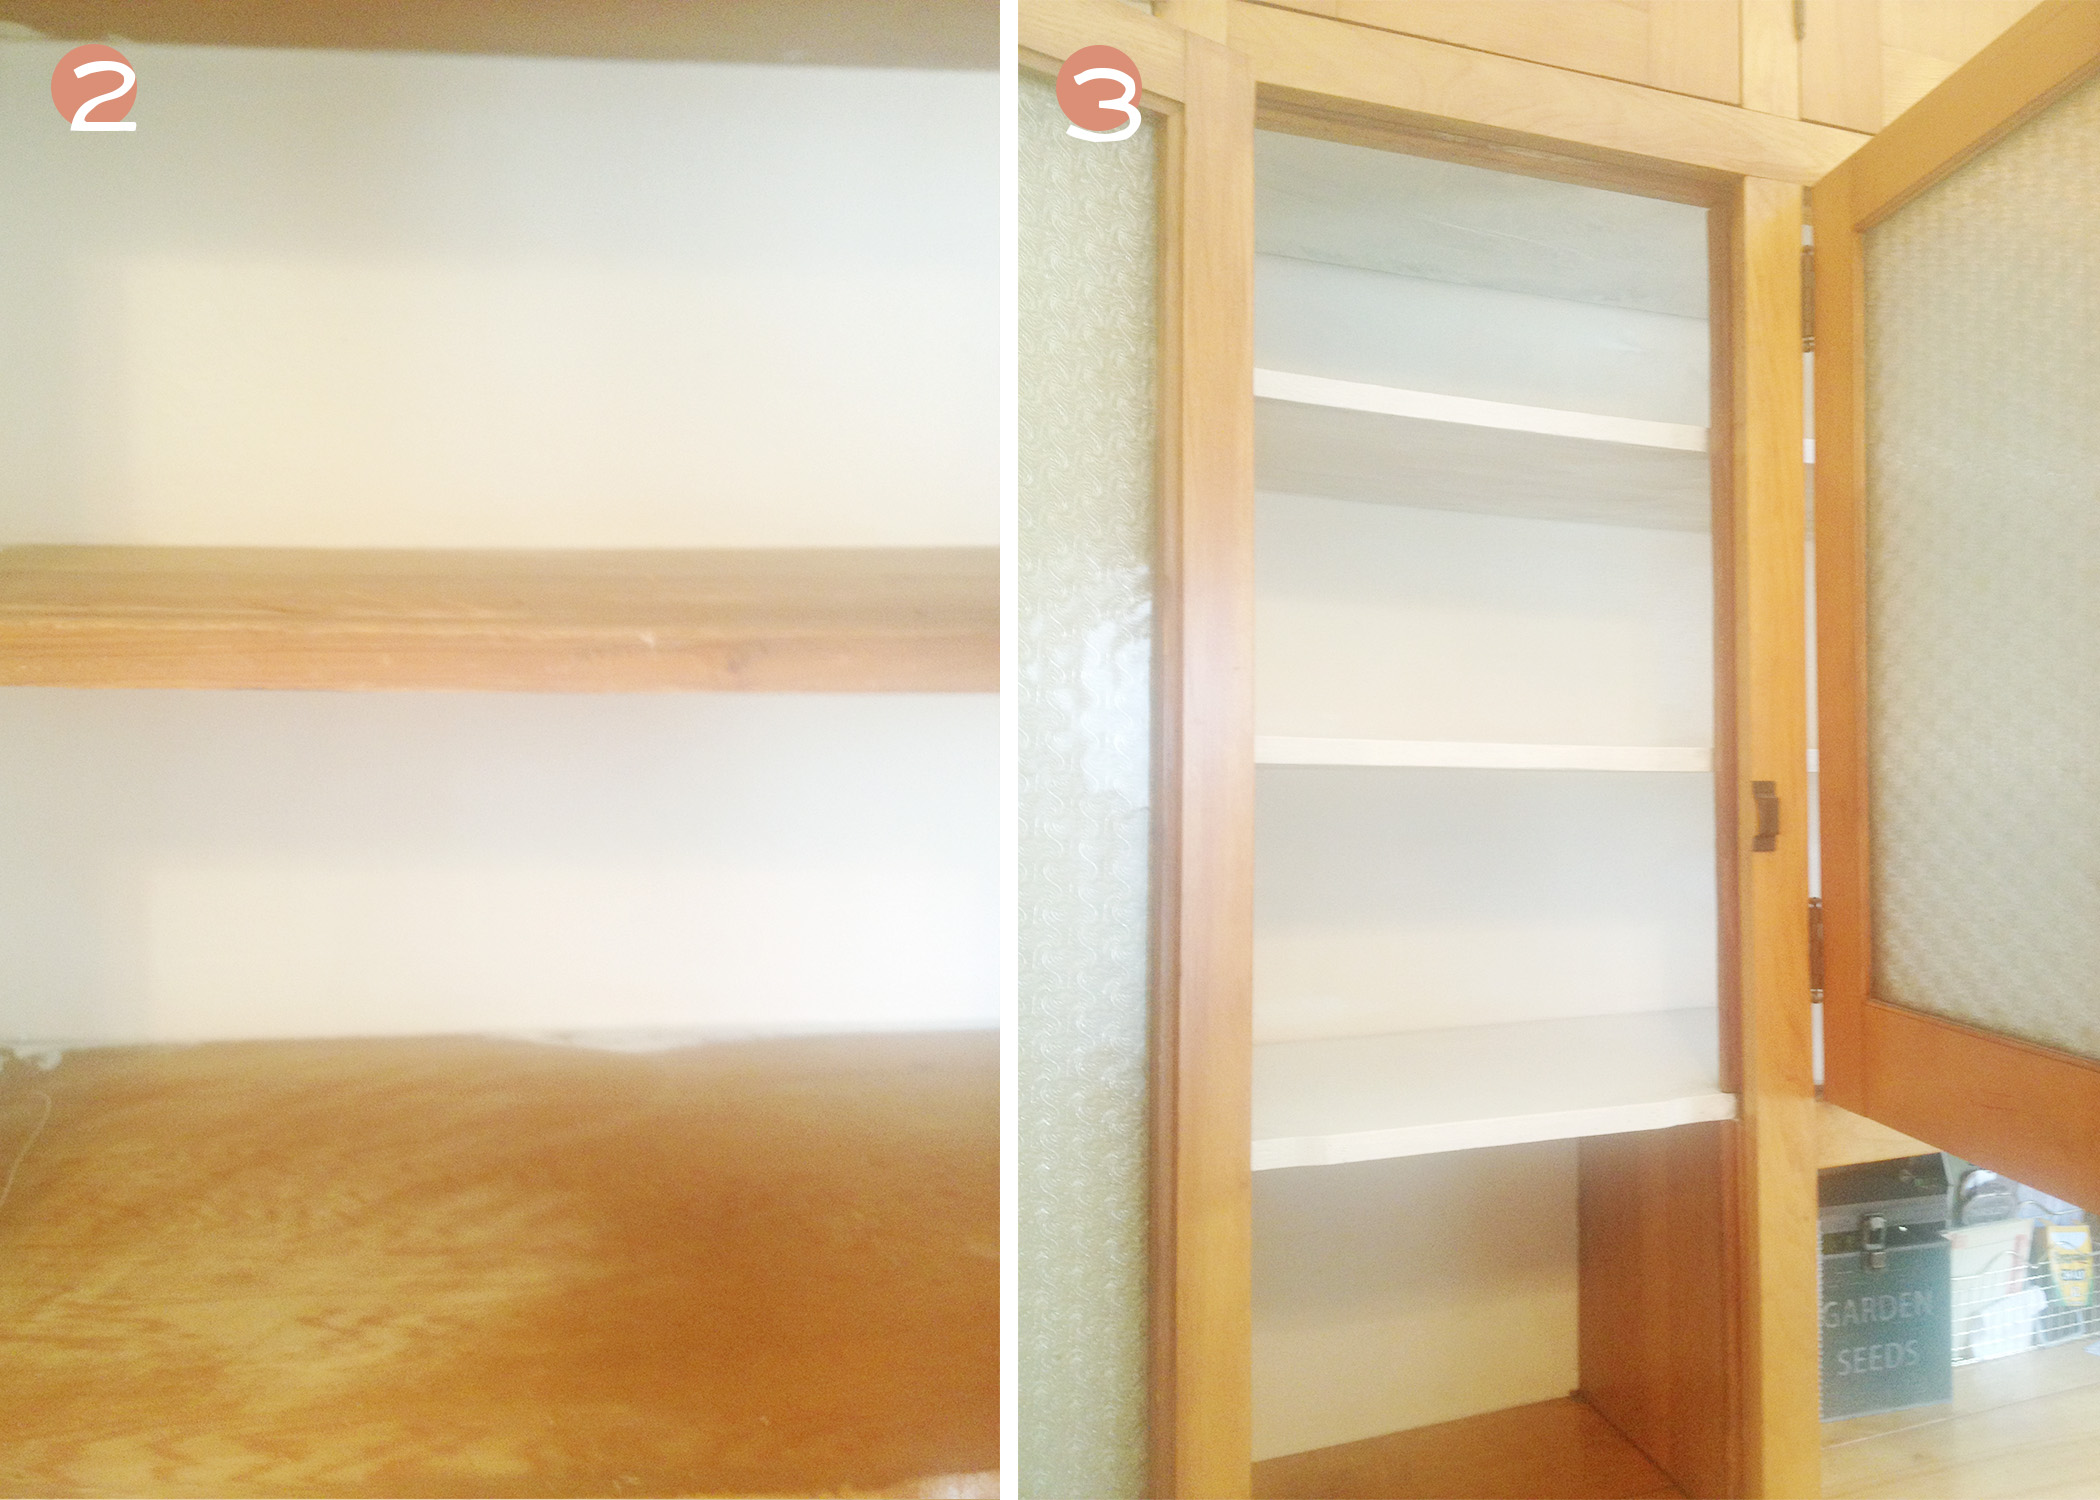
Step 2: We sanded the tops of the wood to help the new paint stick to the wood. Step 3: Then, we primed the wood shelves (top, bottom, and sides), and let it dry. Once the primer was dry, we painted all sides of the shelves white.
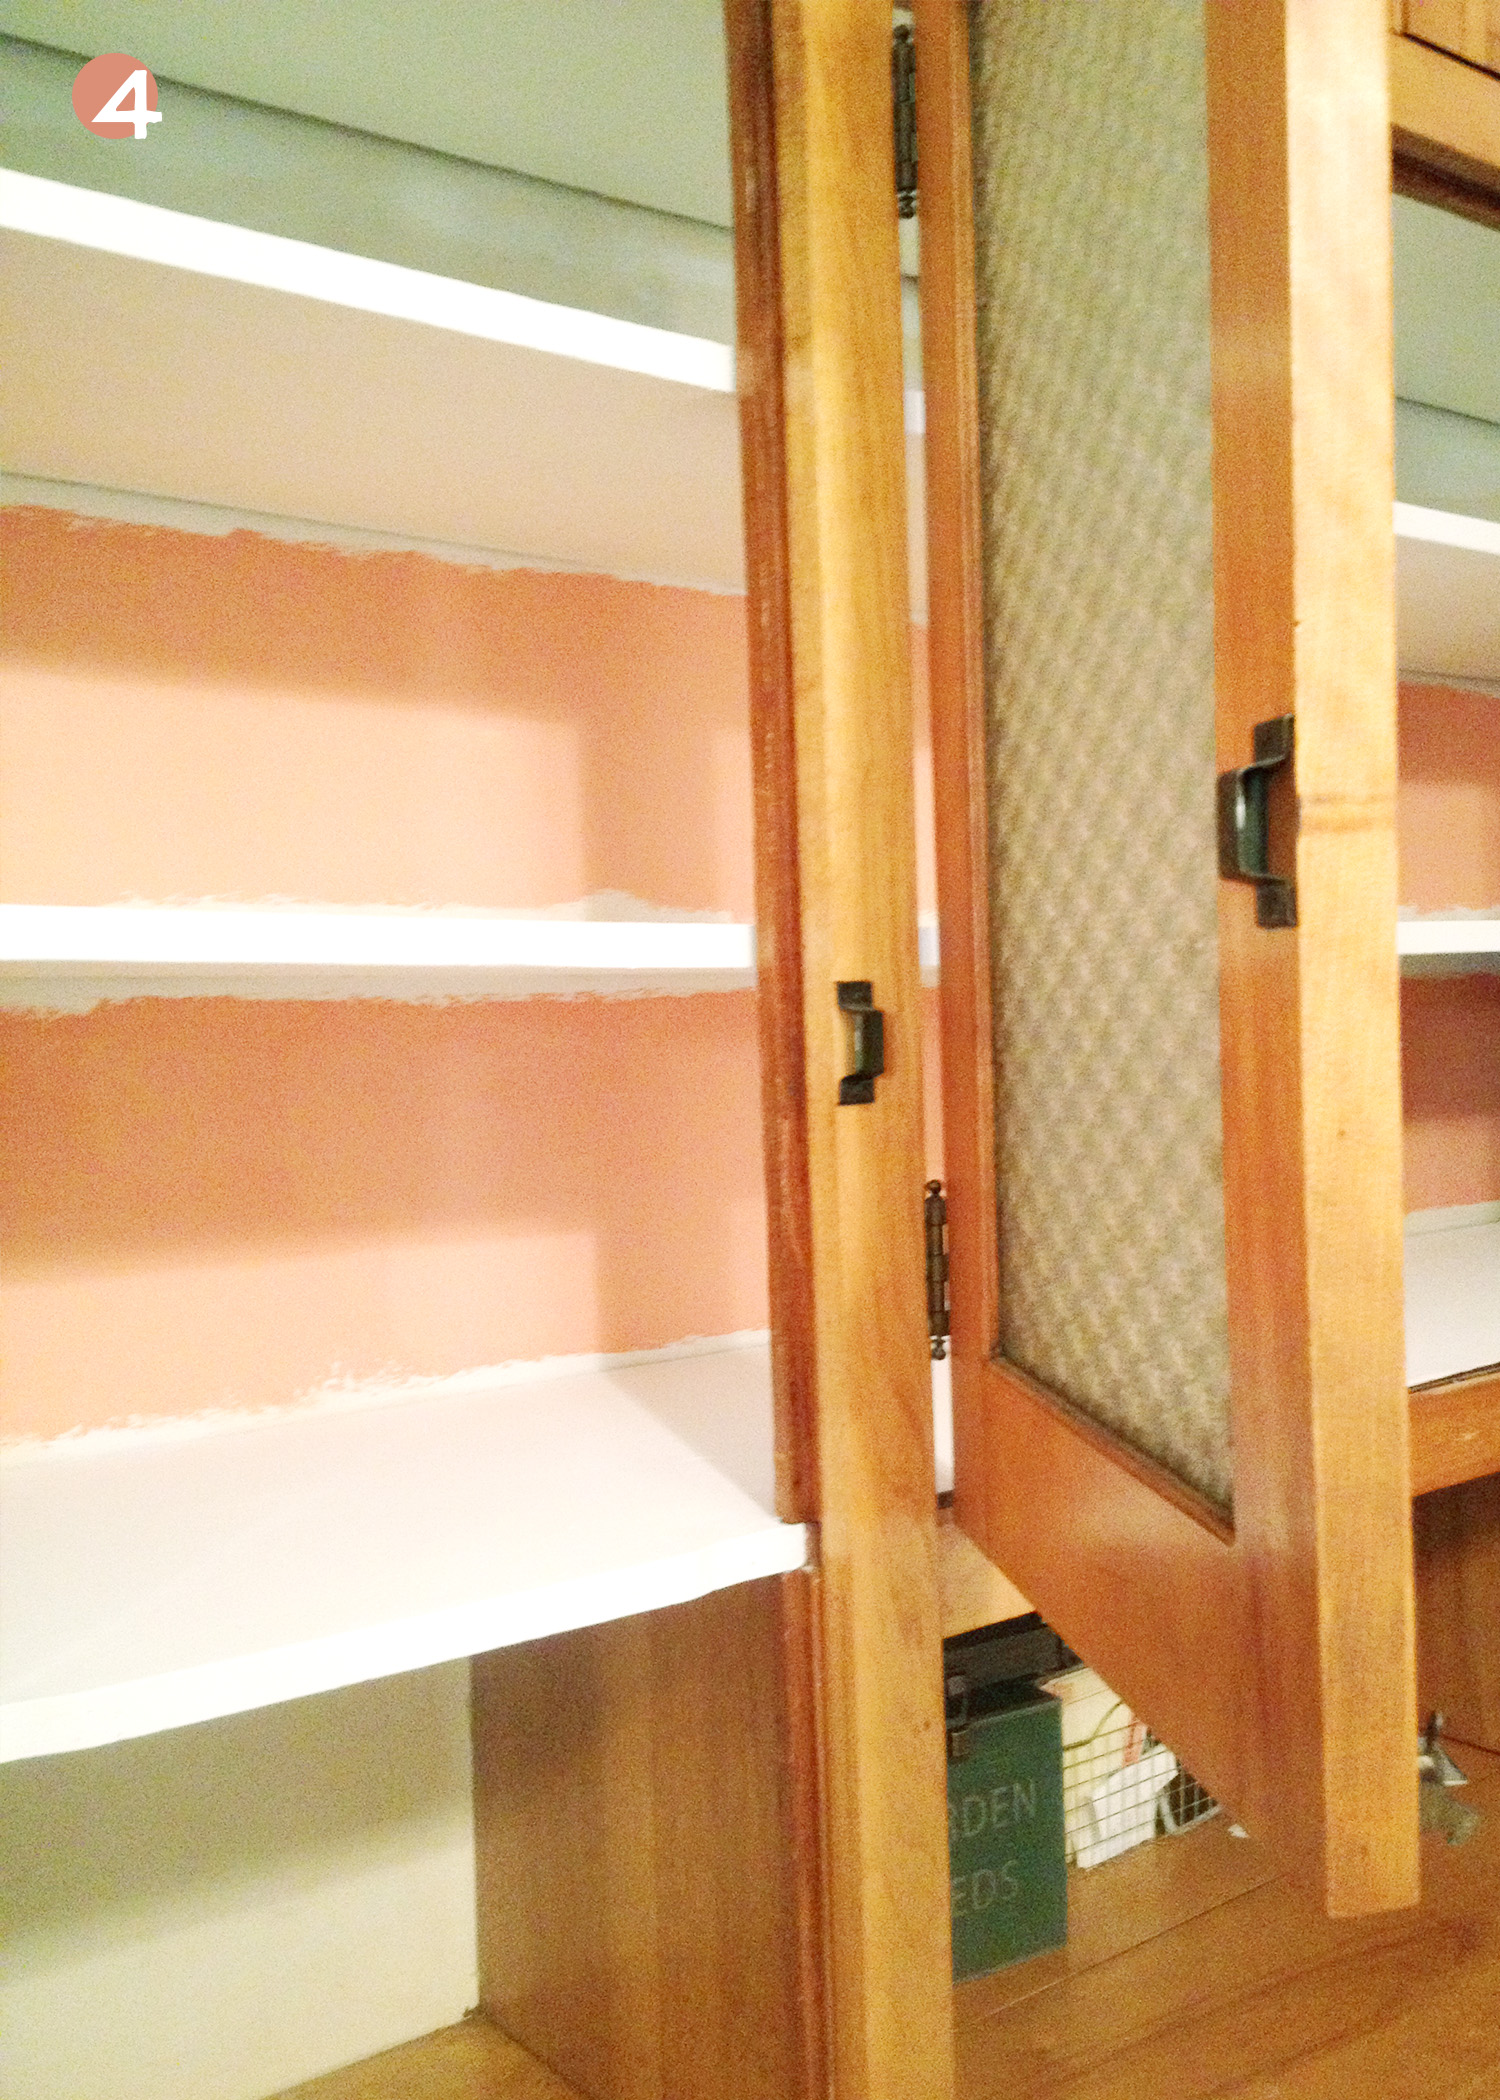
Step 4: Once the white paint was dry, we used a small paint roller and painted on the coral paint on the back and side walls. After that paint is dry, your done! Just make sure to leave the cabinet doors open so that they can dry quicker.


2 Responses to “DIY // Painted Cabinets”